Hi there. How are you?
Friends, I finally did it. I went big! It only took 3 months for me to sit down and actually finish this large (for me) 12" x 18" drawing.
I'm pretty darn happy with the results.
I finally finished this large 12" x 18" drawing that I started in September 2016!
It all started in September.
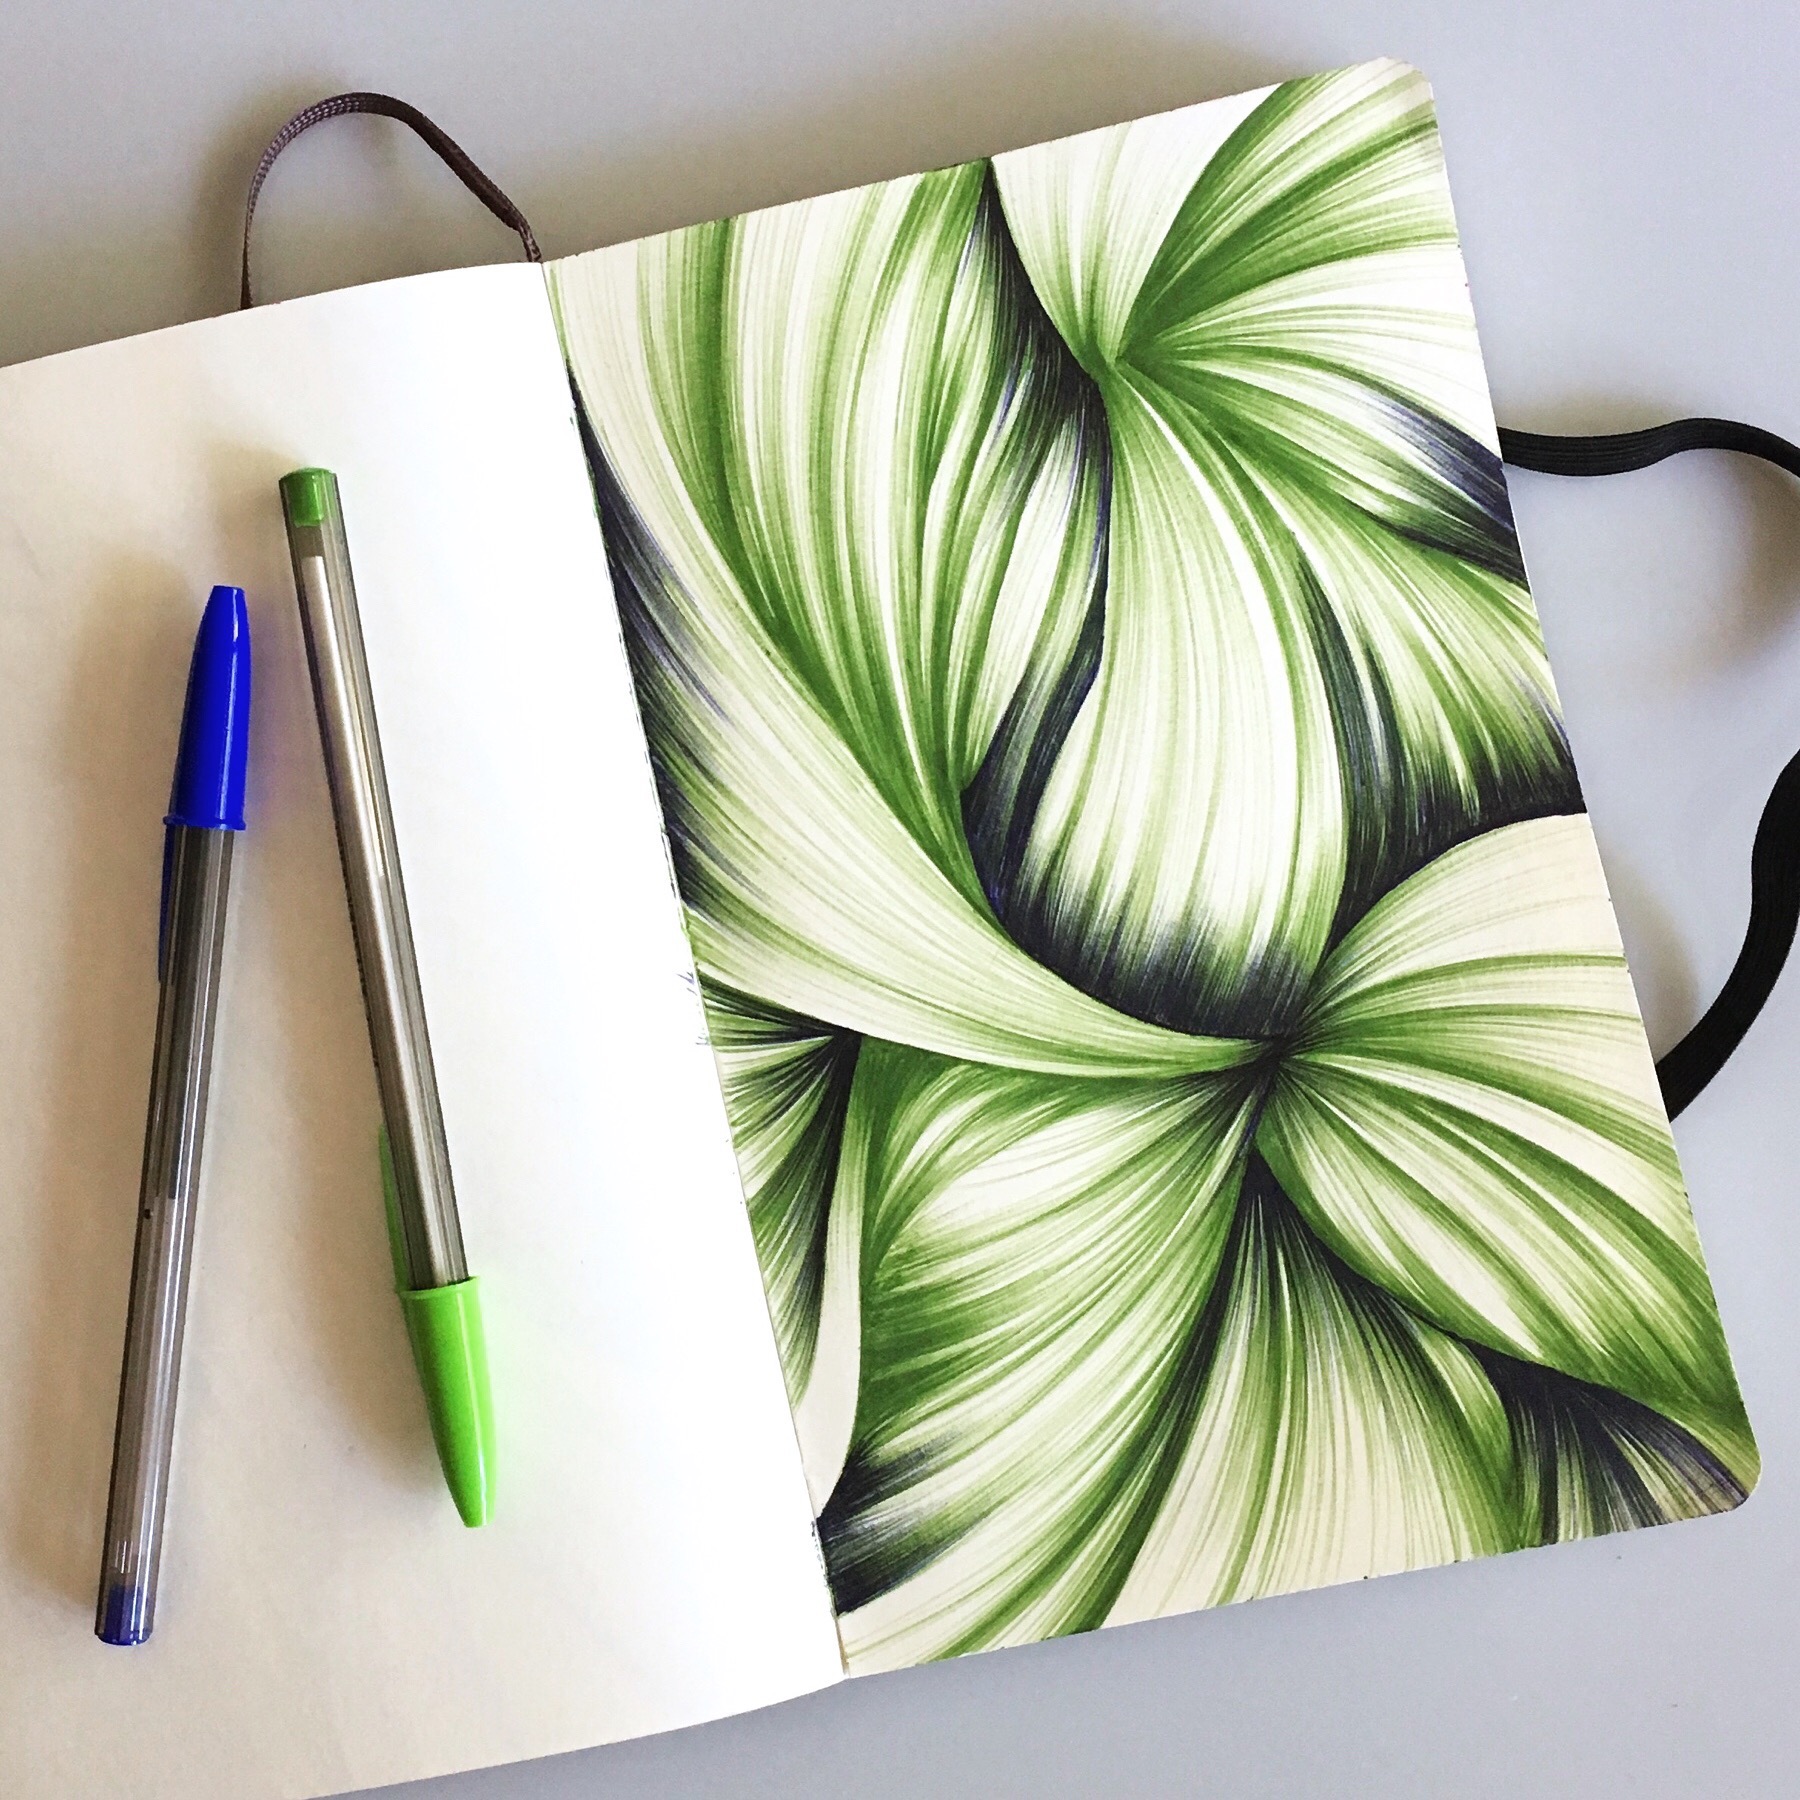
After making several small drawings in this same style, I felt the urge to work on a larger scale. You can see and read more about those earlier pieces HERE.
In September 2016, I found a pad of 12" x 18" paper in my husband's art supply stash and went to work with a red Bic pen. I thought it would be fun to share the process shots that I took along the way.
Here are the first marks I made.

The first marks of my 12" x 18" abstract ink drawing. I started with the red.
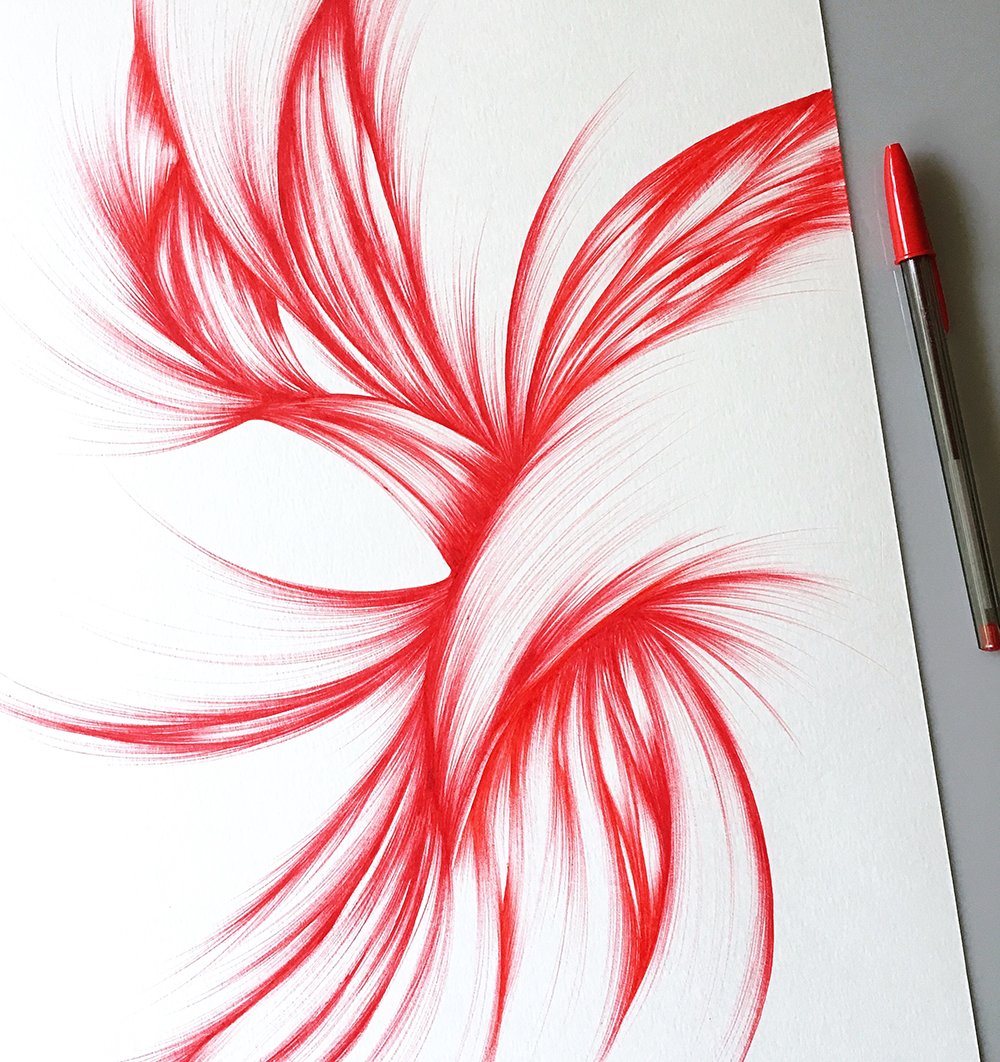
The early stages of my abstract ballpoint pen drawing.
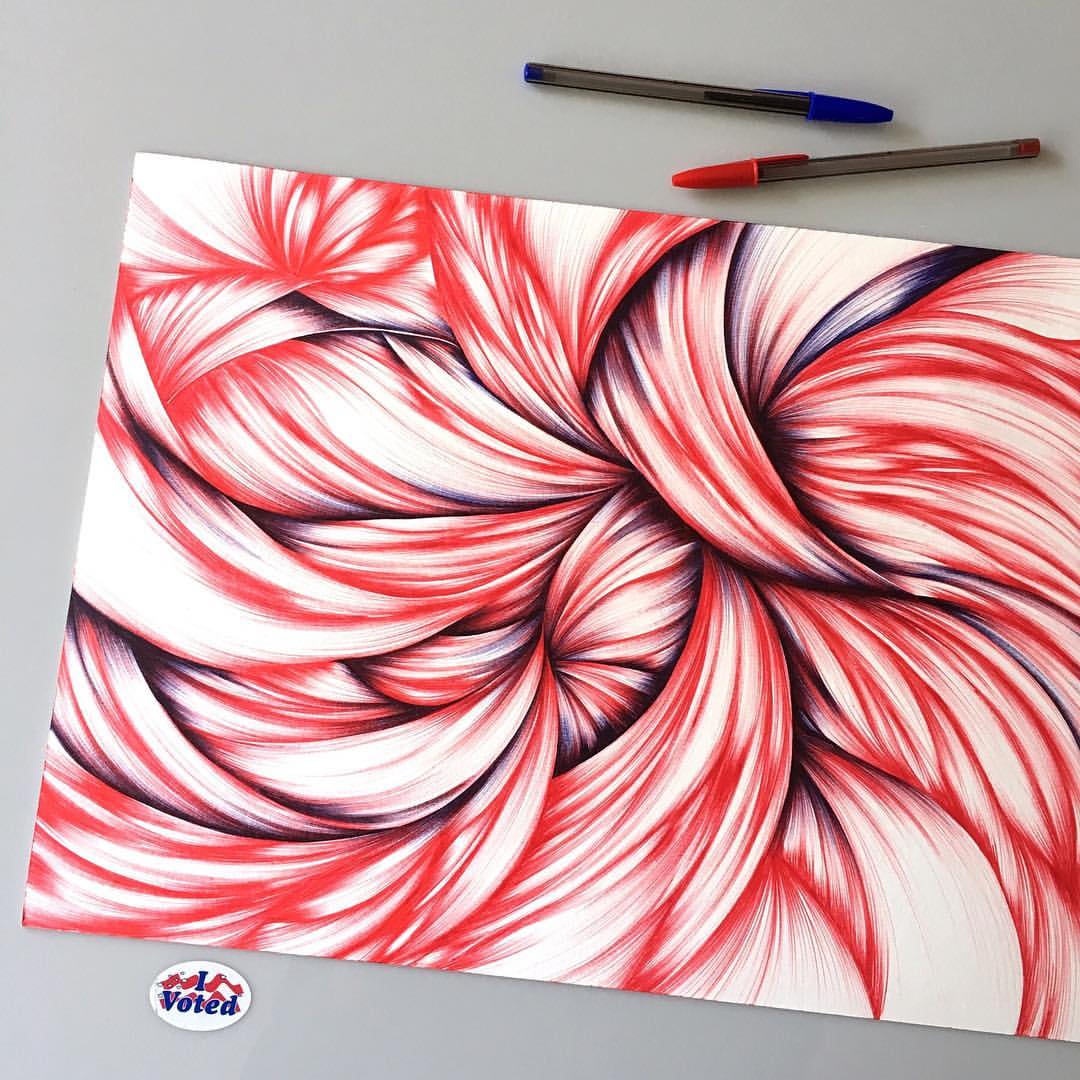
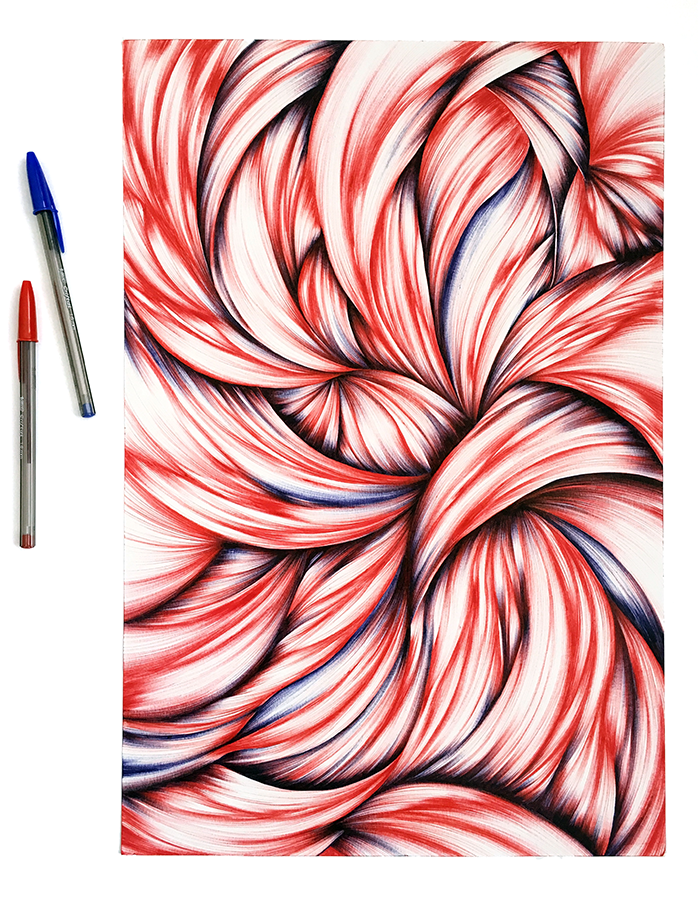
Then I added blue.
After a while, I started layering in the royal blue. Adding a second, darker value adds more depth and dimension to the composition. I had considered using black instead of the blue, but the art teacher in me thought better of that. Color in your darks is always a better option. This color combo might be a bit patriotic and maybe cliche. I don't care, I love it!

A work in progress shot of my large abstract ballpoint drawing. See how much more dimension the areas with the blue have than those with just red.

A detail section of my still untitled ballpoint pen drawing.
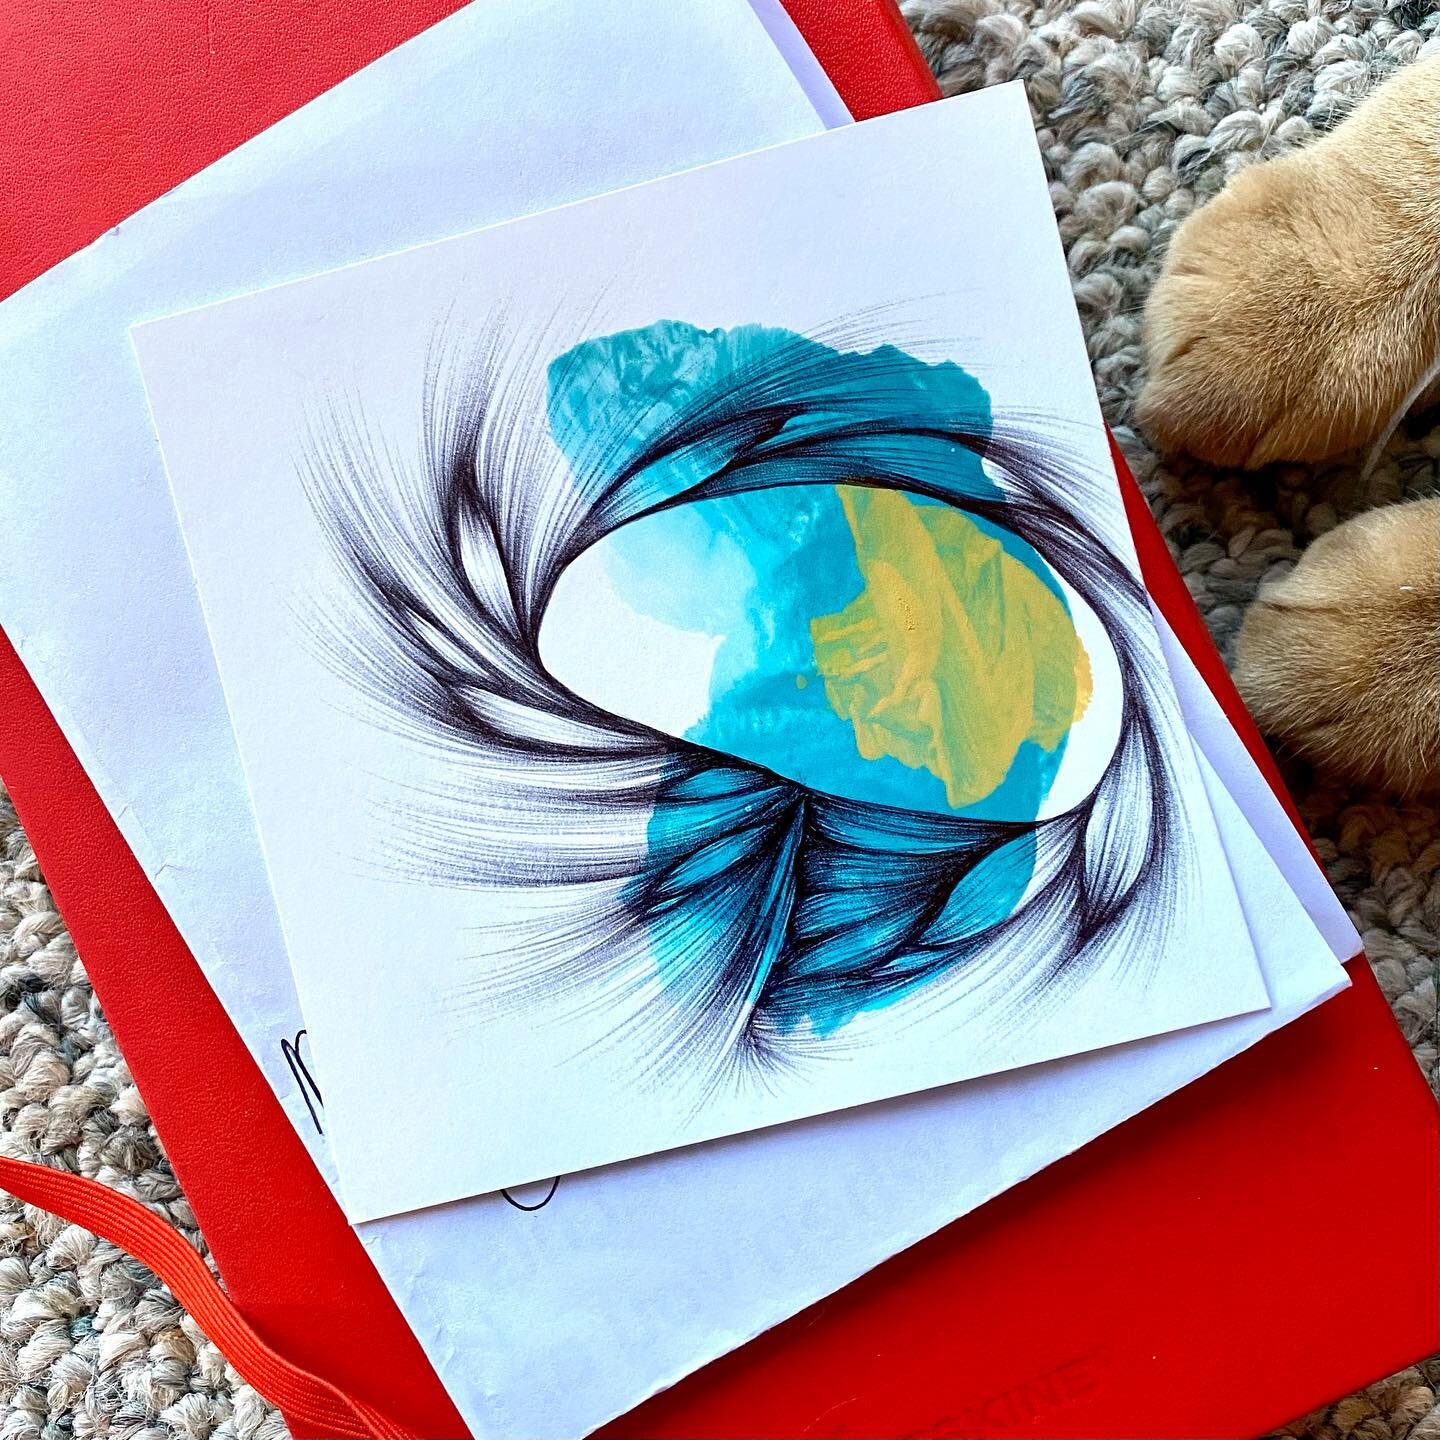
The last leg
Last Friday, I spent much of the day in the studio. I was determined to finish up this drawing. After a day's work, I took photo of the piece. For some reason when I look at my work on the computer screen, I can better take in the composition as a whole.
After months in the works, this drawing was nearly complete.
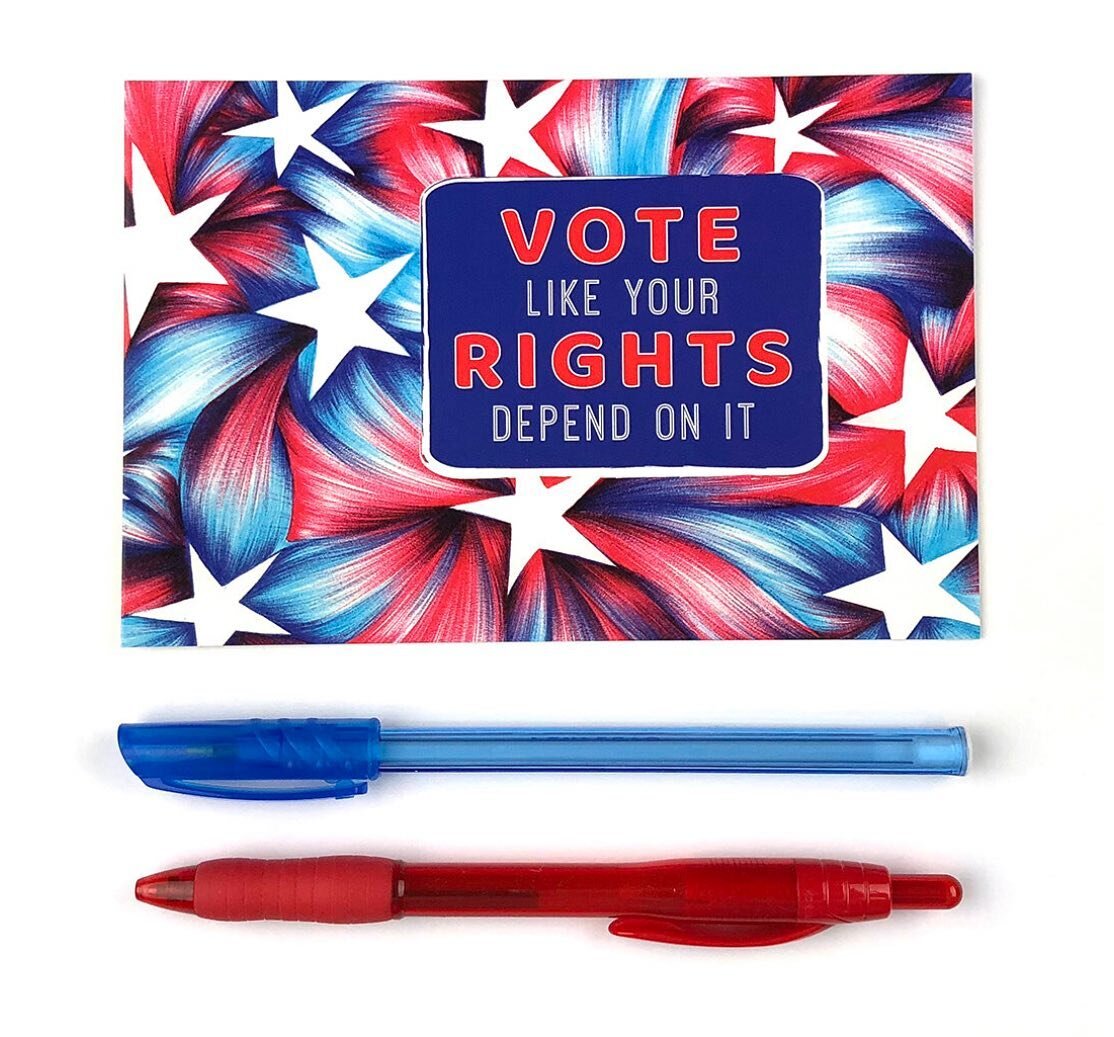
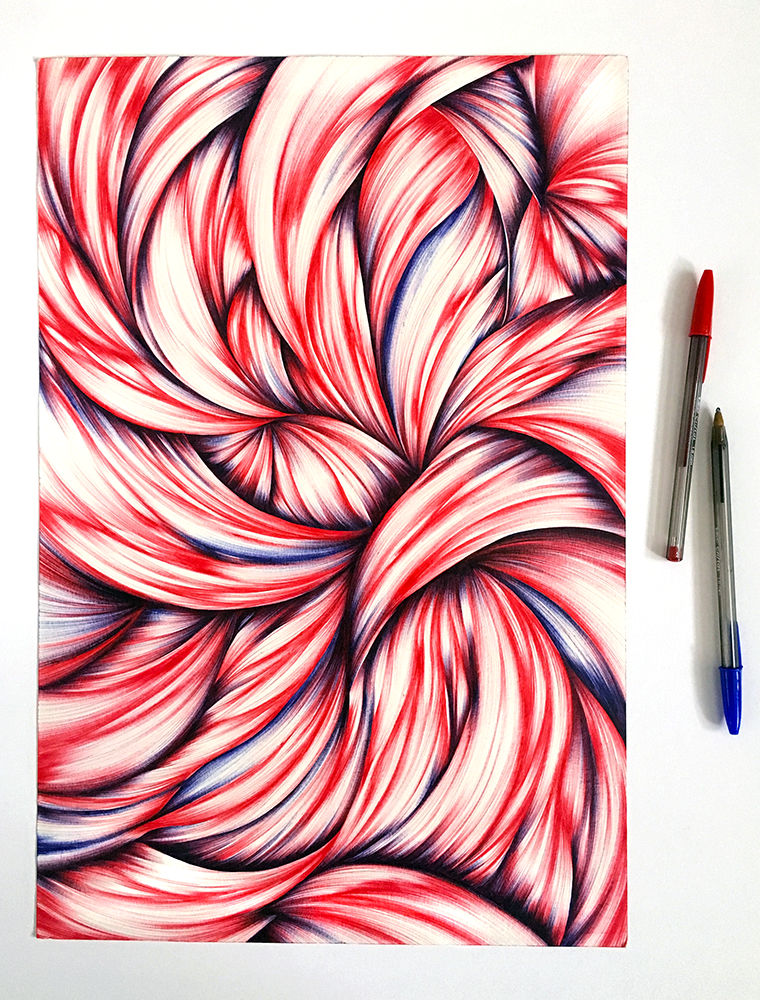
Finally finished!
After a few more tweaks, my drawing was finally complete. Yahoo! My next hurdle is to properly photograph it so that I can make prints and/or textiles out of this composition. (Can't you just see this on a pillow?)
The best way I've found to archive my work is to scan it. As this drawing is way to big to fit on my scanner bed, this isn't an option. Hopefully I'll have some time later this week to set up the tripod and my trusty Nikon DSLR and make it happen.
Eventually, I'll frame this piece too. My handy husband is going to help me make custom frames for this new series. No more cradled hardboard mounting and varnishing.....These pieces need to behind some glass! (Well, actually plexiglass.)
Here's what it might look like framed:

Completed and still untitled ballpoint pen drawing in framed mockup.
I'm still not sure what color/finish the frame will be. I just know it will be minimal and will hopefully complement and elevate the work.
Want to buy this piece unframed? Just get in touch!
That's all for now. Hope you enjoyed this. I'll be back next week with another post.
Anything you'd like to know about?
Do tell. I don't have a topic in mind for next week yet.